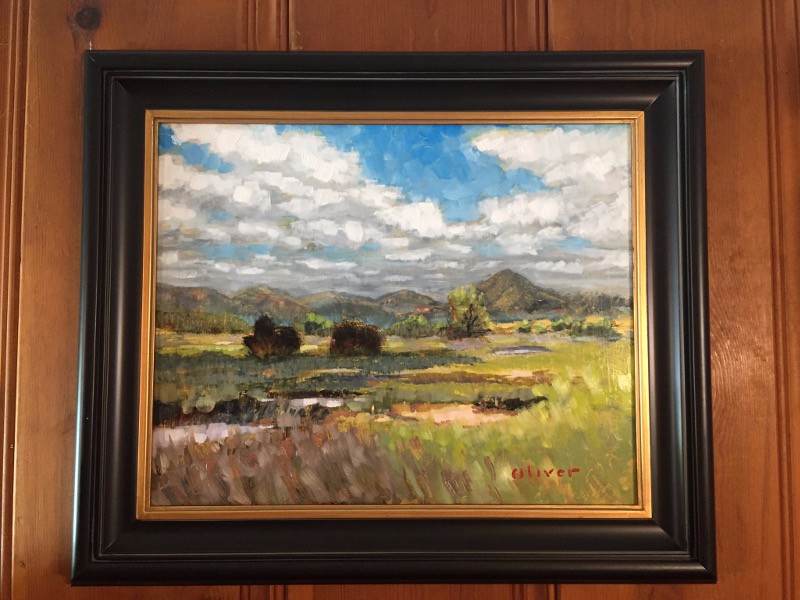
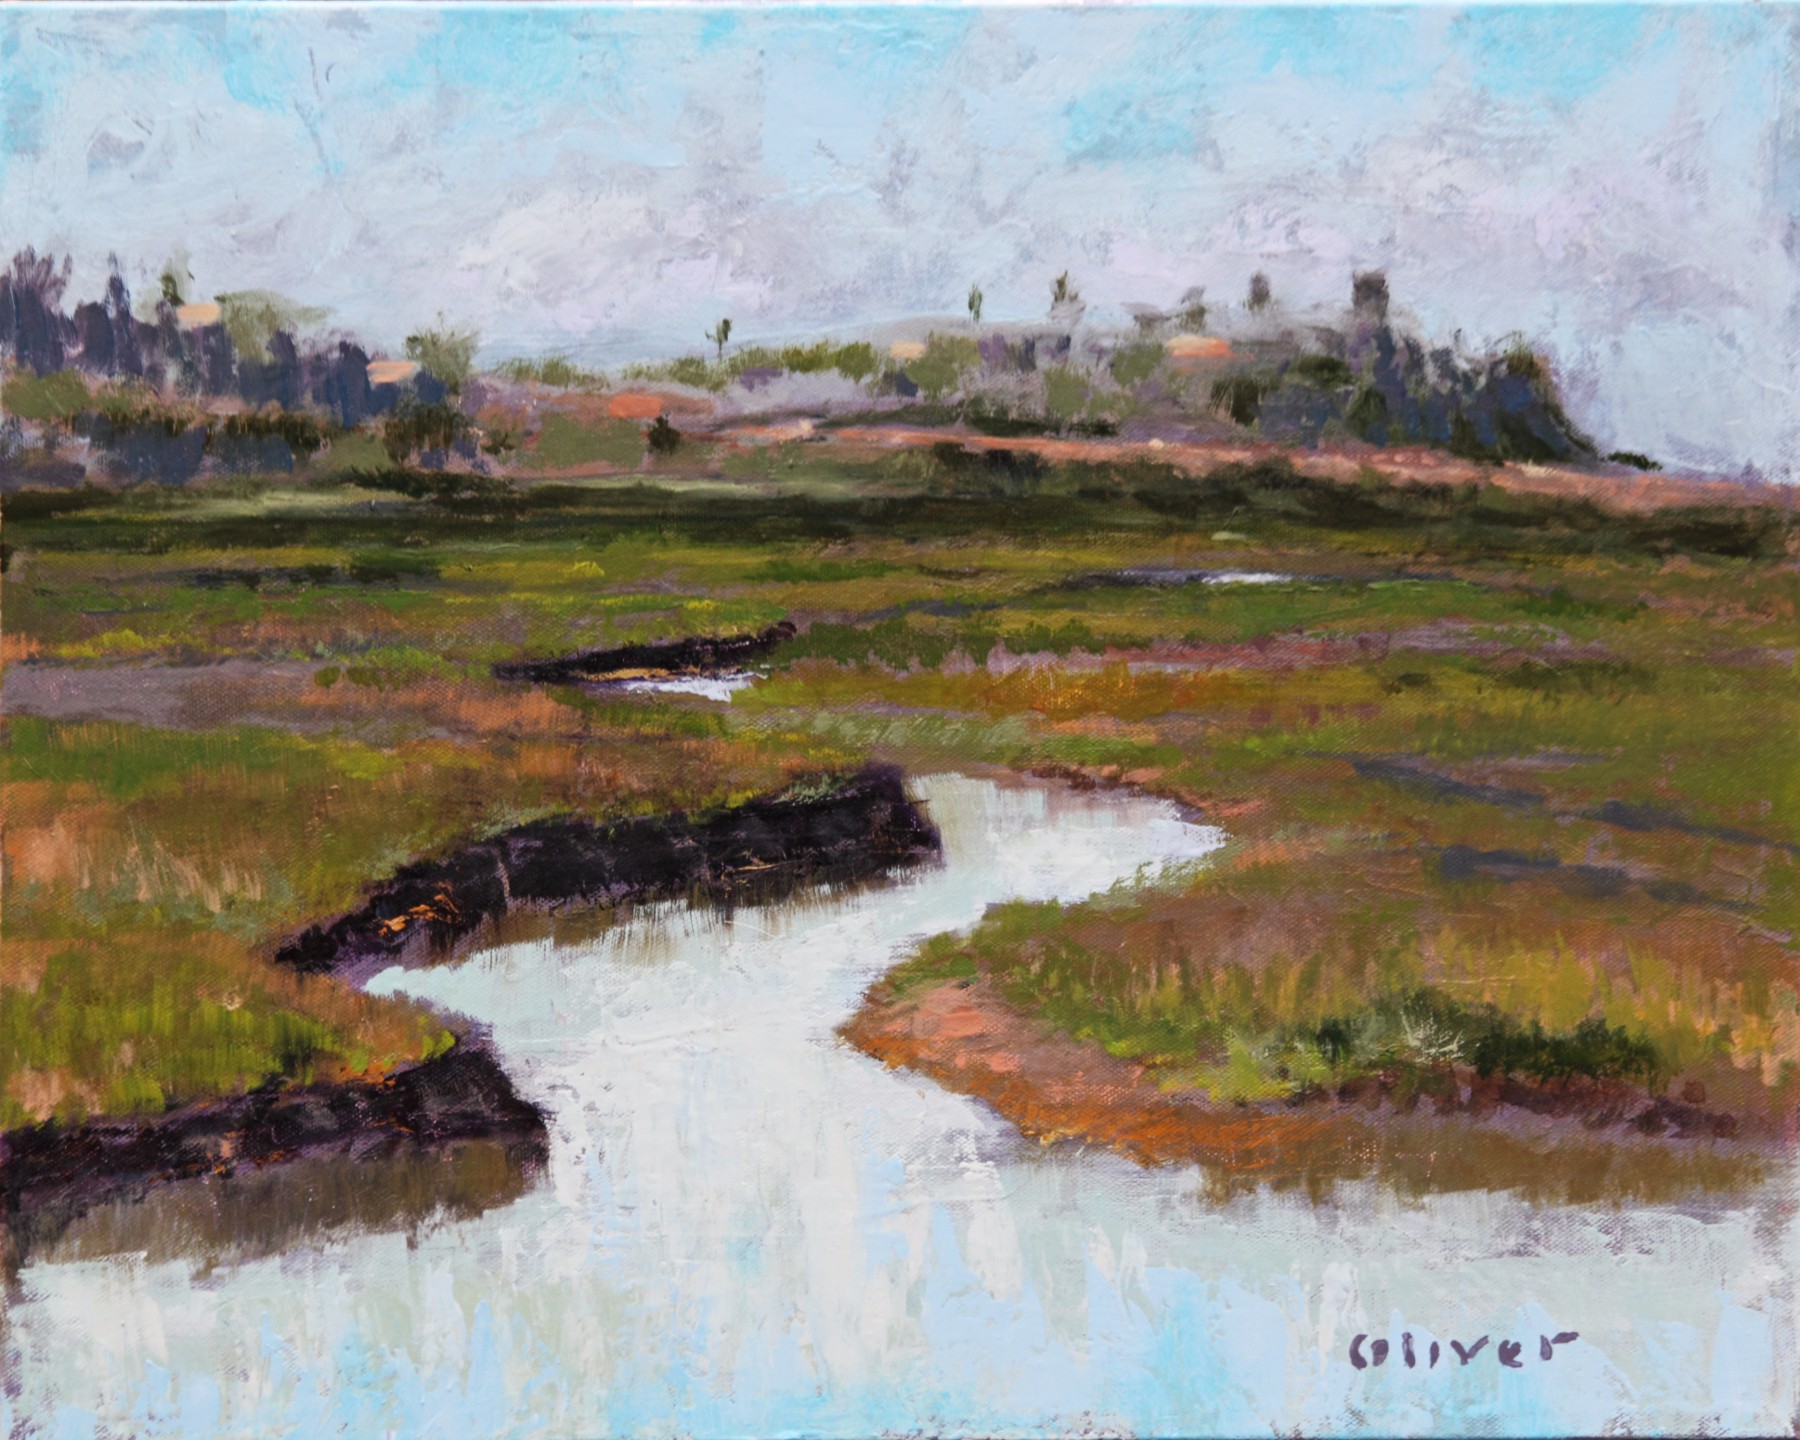
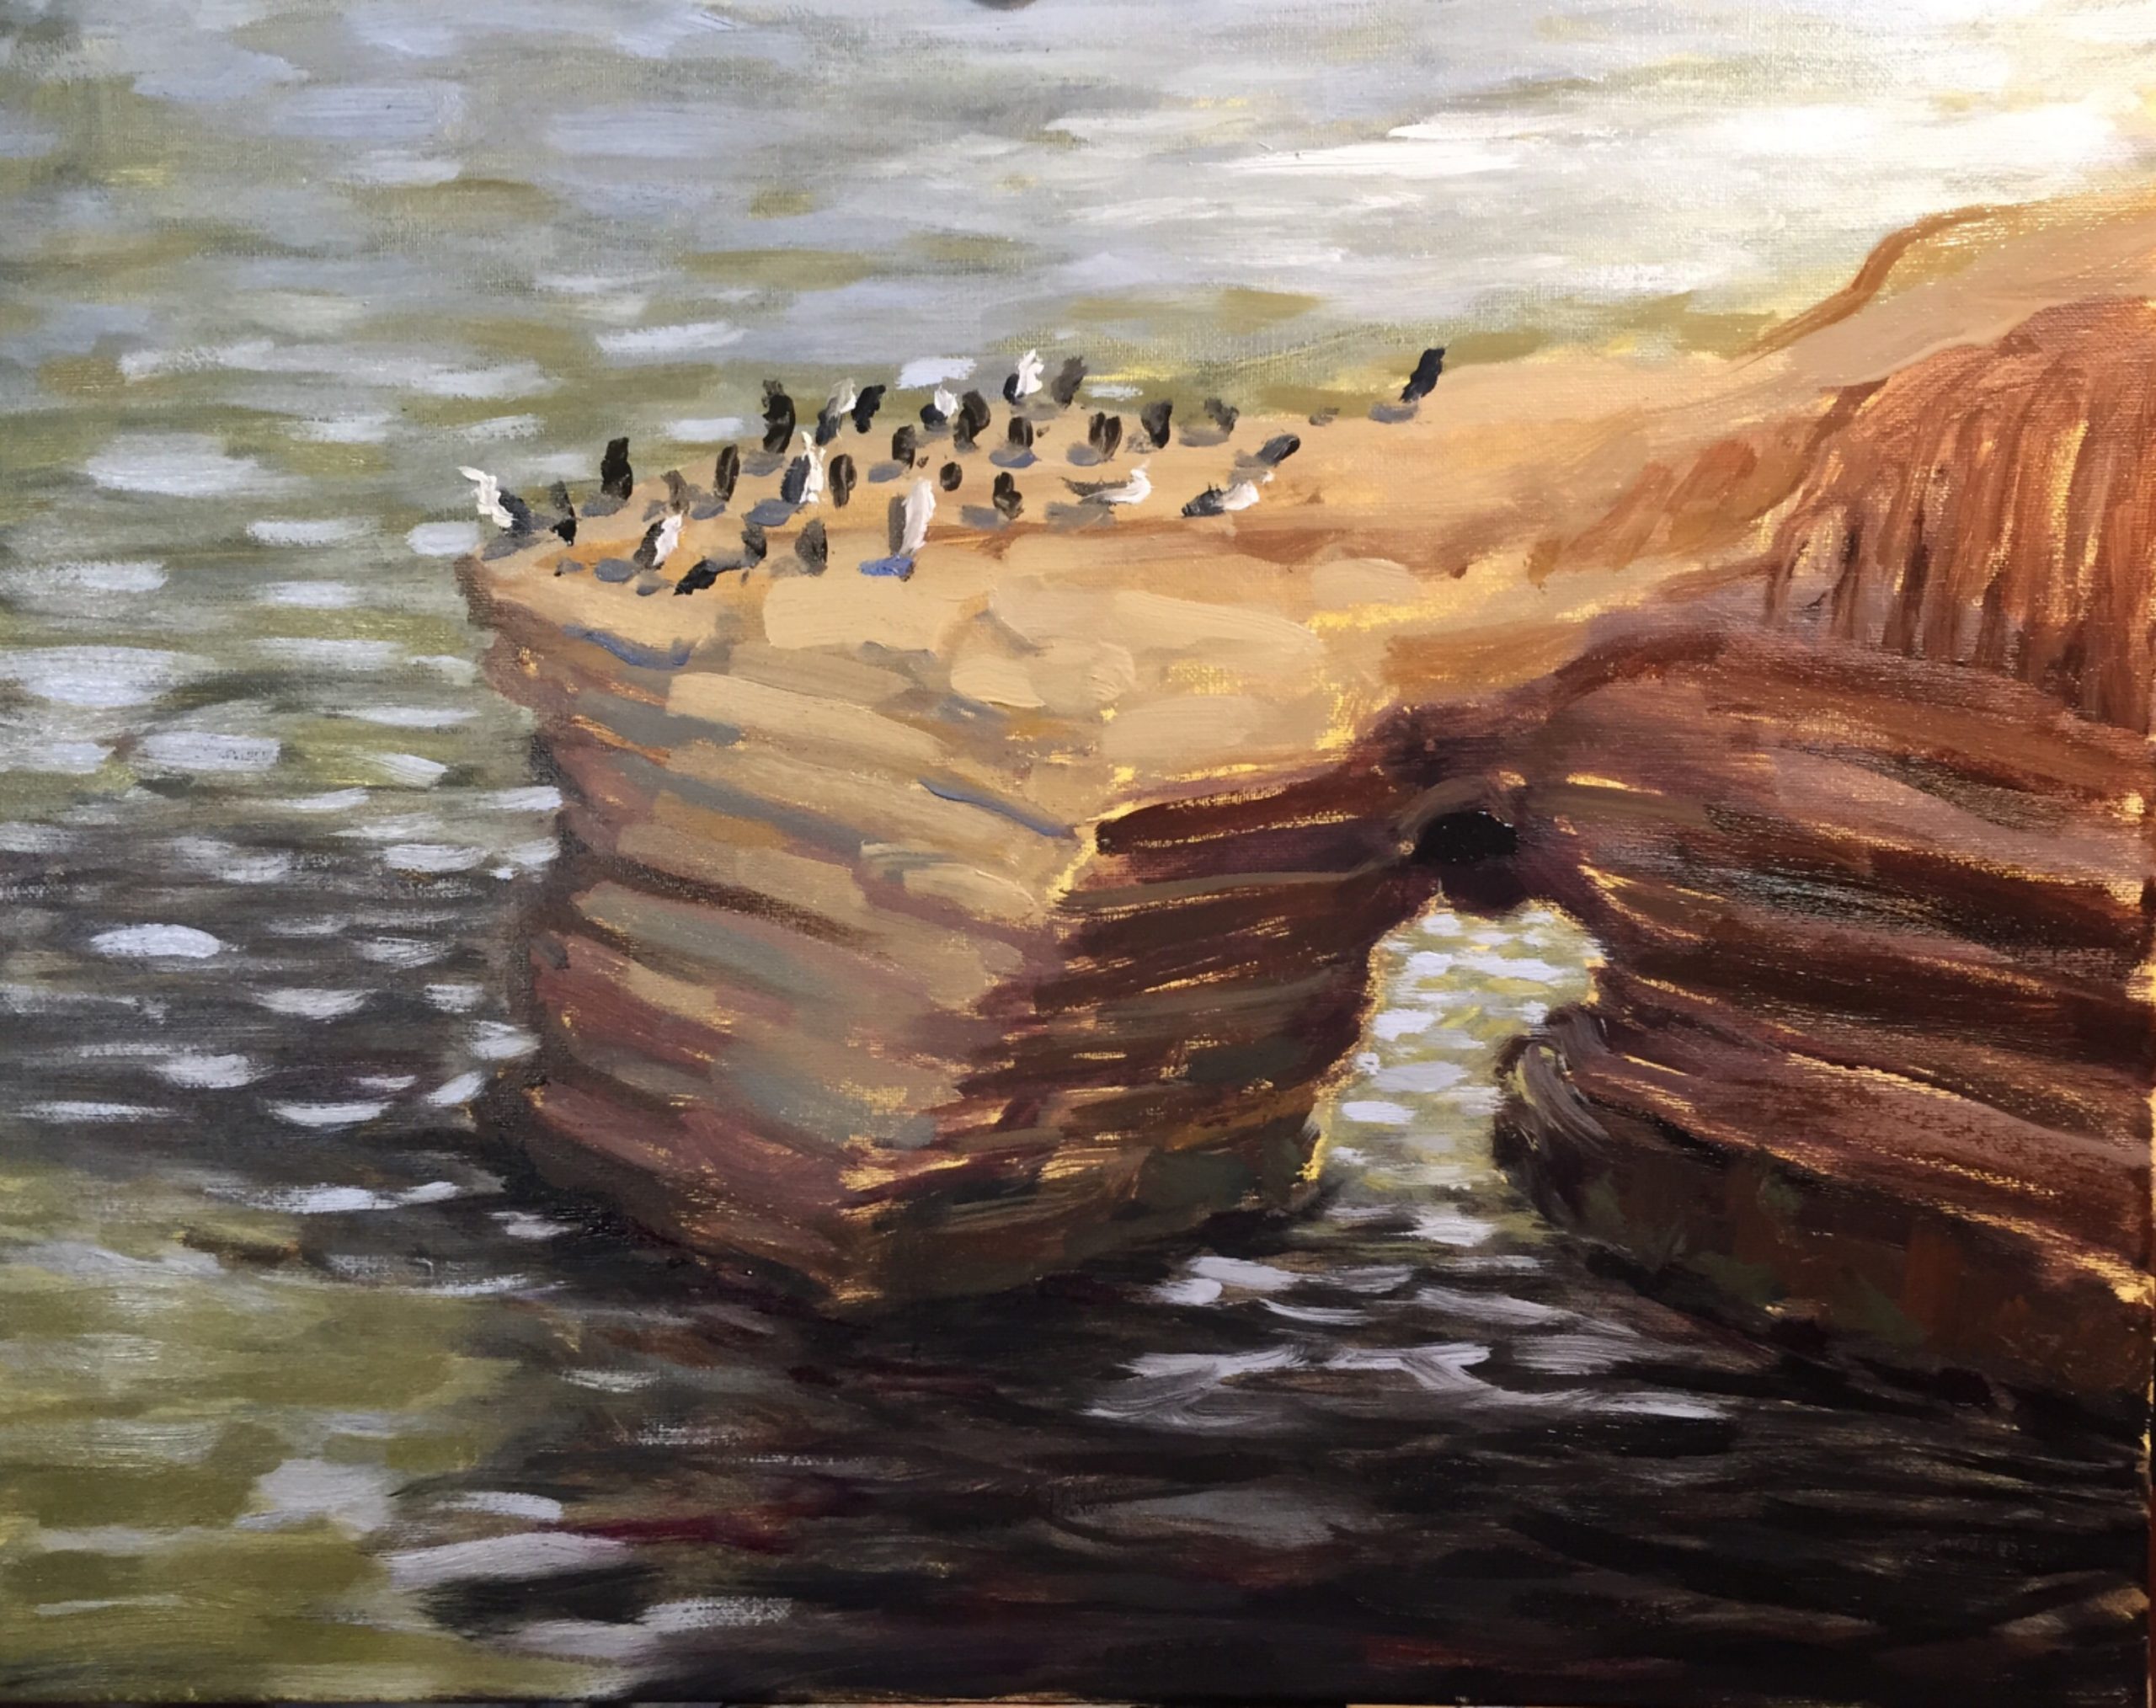
Batiqutos Clearing, along with three of my San Diego plein air paintings is on display and available at the Solana Beach Library in Encinitas, California…or in my online gallery.
Four of my San Diego plein air paintings are showing at the Solana Beach Library in Encinitas. The art will be on site June 11th through August 3rd, 2016. There is a reception open to all on Saturday, July 16th at 2:00 to 4:00pm.
All four paintings are plein air works, in 16×20 inch landscape format. Each is identically framed in solid wood with dark, espresso color, red distressed undertones and a gold liner. They look very elegant in these frames! Click on an image in the slideshow below to learn more about that painting and to see larger images.
Plein air painters have many different surfaces to choose from on which to create their art.
There is duck canvas, linen, canvas panels, linen panels, birch board and many other choices for the outdoor artist. I’ve tried many of these and have come to my own conclusion and method that works best for my process. That’s why I like to use gessoed and oil primed hardboard panels for painting plein air. Some of the benefits of using panels instead of canvas is, they’re portable–you can carry many in a panel holder when travelling–they won’t tear or dent, and they never have the issue of sunlight coming through the back like you can get when you use canvas outdoors.
I made a video that shows how I prepare inexpensive hardboard panels with gesso and oil primer. They make a great surface to paint on. You might want to try using the methods I’m goint to share to see if you like painting on them as much as I do. Here’s the video if you’re interested:

The working artist has to wear many hats, one of which is the “Framers Hat.” The following framing tips show how I treat my paintings to ensure they look professionally done and will serve my clients and galleries well.
If you plan to sell paintings yourself through an online presence without the intermediary of a gallery or other representation, to keep costs down you should know some things about framing. If you do work with galleries, they will appreciate that your works arrive ready to hang with a professional look, both front and back.
Some tools that will come in handy are:

I use stainless steel hardware that will never rust. You don’t want your reputation tarnished by rusty parts a few years down the road. Usually I paint en plein air on hardboard panels as seen in the photo. Panels are portable, easy to mount and will not tear like a canvas could. It’s also easy to sign, date and add any other info to the back of the painting with a permanent “Sharpie” type marker.
Here’s a closer look at the information I put on my panels…

I like to add:
In this case I used Dammar Varnish, so I’ve written that down in the lower right on the back of the panel. This will help future owners and conservators when it comes time to clean and re-seal the painting. They will know what solvents and cleaners are necessary to do their work and will appreciate that I’ve helped them out with this message.
You can see the screws I use are stainless steel, self tapping #6×3/8″. I prefer using these short screws because some frames have very thin face material and longer screws can actually penetrate through the front and ruin a costly frame. That’s not good! The 3/8 length is strong enough to hold most any painting up to about 18×24 inches. Beyond that, you may want to ensure your frames are more substantial and can take the longer screws without any issues. I don’t think the 3/8″ screws are adequate to hold larger, heavier frames. You can also see the “offset clip” I’ve used to hold the panel tightly in the frame opening. These clips come in different offset depths and it’s good to have an assortment because frames have differing rabbet depths and sometimes you may use a thicker panel or canvas so it’s good to be prepared.

I like the single-eye, D-Ring style, stainless steel hangers. These too are strong enough to hold small to medium-sized paintings but if you frame larger works, it would be good to get the heavy-duty hangers with two screw holes, so you can be assured they will hold the extra weight.

You can see the tips of the self-tapping screws in this photo. No need to pre-drill pilot holes when using these–saves lots of time. Just put the screw on the magnetic tip of your drill driver and place it where you want, then pull the trigger…in it goes!

I think it’s best to use vinyl-coated framers wire for the hanging wire. It protects your fingers (and your clients) as well as makes the installation easier. If you’ve ever had your finger pricked or had a strand of framing wire go under your fingernail, you’ll know why I recommend this 🙂
I use a slip-knot loop to attach the wire to the D-Rings at both ends. Leave about 4 or 5 inches of extra wire at each end in addition to the length needed to span the width from the D-Rings at each side.

Tighten up the slip-knot, then wrap the extra wire around the main length about a 10 or 12 times…

then cinch it down tight and cut off the excess, leaving a nice presentation with no fly-away ends. The D-Rings should be placed as near to the edge of the frame as possible without showing. This ensures that the painting hangs close to the wall.

I also like to add a business card with my web URL on it glued to the back. I use simple white glue for this because it will hold up well and dries clear.
The finished wire should be good and taught without much slack. Here you can see that with the D-Rings about 6 inches from the top of the frame, the wire flexes up when hanging by less than two inches, leaving about 4 inches of room for the hanger to be hidden from the top of the painting. This also makes sure that the top of the frame does not drift away from the wall.

That’s it! It’s not too difficult to Do It Yourself and make sure your art will hang correctly and with a professional appearance. Your clients and galleries will appreciate your art all the much more when it’s framed and ready to hang with professional, quality materials and techniques.

The act of plein air painting is an acquired taste.
Many artists see plein air painters at their easels in the open air, capturing the light and essence of a beautiful, natural scene before them and think, “I will do that some day!”
Little do they know that painting in the open air has its own specific challenges that make it much different from attacking a canvas in the relative comfort and the steady, even lighting of their studio. Still, plein air painting can be very rewarding for the creative soul and is well worth the effort to develop some proficiency in it as an art. Following are five “tips” for the beginning plein air painting admirer that just may help them become a plein air aficionado.
1.) Start small.
It is far easier to manage a small canvas and a small kit when a beginner, rather than diving in to tackle large canvasses or elaborate outdoor easels. When beginning, you are testing the waters and it makes sense to keep it simple to find if plein air is the right avenue for you. Expensive kits and brushes are not necessary to start. An inexpensive half box french easel and 6×8 in. canvas panels or hard boards and a cheap set of hog bristle, long-handled brushes are a good beginning.
2.) Use artist grade paints.
Student grade paints will cause more frustration than learning as a beginner. They have difficult consistency and do not mix or thin well as artist grade paints do. There are some very good quality artist grade oil paints, such as Gamblin and Rembrandt that are reasonably priced.
3.) Use a limited palette.
A split-primary palette is a good palette for the plein air painter (even for the seasoned veteran). A split primary consists of a both a warm and cool, single pigment choice for the three primary colors–Red, Yellow and Blue. Add a black, yellow ochre, and transparent red oxide and you have a very good start with only 9 colors and of course titanium white. Later on, you may wish to expand your palette with some specialty or convenience colors. Learn what the symbols and numbers mean on the paint tubes. There is much to learn about pigment properties such as transparency, light fastness, and mixing qualities.
4.) Composition is half the battle.
A poorly composed painting, no matter how adroitly painted, will read as a failure. Read up or web search for terms such as “rule of thirds,” “the golden section,” “avoiding tangents,” “focal points,” “lost and hard edges” among others. It’s always good to have a “center of interest” in your composition but that certainly doesn’t mean it should be plopped dead center in your canvas, which is generally the wrong thing to do. Avoid placing elements along the side of the frame or bisected by the outer perimeter of your composition. And finally, remember…rules are meant to be broken but break them consciously and for good reason, rather than by accident.
5.) Consider water mixable.
As a beginner, you have the opportunity to forego the hazards and hassles of working with oils and solvents with your paints. There are some excellent water mixable oil paints that will allow you to make professional quality paintings that cannot be distinguished from those made with the traditional oil and solvent media. Cobra and Holbein are two brands with good reviews for water mixable. They also offer water mixable mediums and impasto gels. As a beginner it may make sense to commit to learning and working from the beginning, with the water mixable products, rather than delve into the world of mineral spirits and turpentine.
These are just a few sound pieces of advice for the beginner who is enchanted by the sight of a painter standing at an easel in the open air of a natural scene. That’s where it begins…with the will to do, to be, to create outdoors at an easel–making the first steps to acquire your “kit,” then actually taking it to an inspiring place and taking the leap. There is a great deal to learn, but it is “so worth” every minute you will spend painting “en plein air!”
I and two other artists will be doing live demonstrations of plein air painting techniques–free to the public. The demos will take place at the annual San Diego River Foundation “River Days,” celebration this Saturday, May 14th in the Mission Gorge Regional Park at Old Padre Dam. The demos happen 8:00am to 11:00am. Here are some “clickable” photos I took on a showery May morning to urge you to come out and see the beautiful setting of the park and learn a bit about how to create scenic art in the open air.

San Diego has some great places for a plein air painter to set up their easel and create fantastic landscape art. One of my personal favorite places to paint en plein air (a French term that is universally used to describe the process of painting at an easel in the open air to capture a sense of light and place) is at the San Elijo Lagoon Interpretive Center. There is a very well maintained trail and boardwalk that puts the painter in a beautiful setting with a minimal amount of hiking effort.
Here’s a video I took, early on the spectacular April morning of this plein air outing. You can see my easel, parked and ready to go–the 20×16 inch canvas, primed with a purple-grey undertone.
It really is such a wonderful place to paint, the problem is in selecting a composition from the many choices presented. An interesting sinuous pattern created by the meandering estuary caught my eye and I decided to park my easel to find a composition that included it.

I focused on a particular part of the view that I thought would make for a pleasing result…

Of course, I did’t paint exactly what is in the framing box above, because while it is a pretty view, it is a photograph and not a painting. As an artist painter, I have license to arrange and to subdue or emphasize elements to fit my impressionistic depiction as I choose to frame it on the canvas. It is this personal expression of omission or embellishment that makes painting an impressionist art, and not a craft. Another artist, standing next to me, would bring their own interpretation to the very same view and create an image entirely their own. Successfully finding this balance between representation and impression is the great joy and challenge of painting in the open air.
Here is how the painting looked when I decided to stop, take it home, ponder it for a few days and finish in studio.

…and here is the painting after several days of rumination and the finish in the studio.
San Elijo Morning ~ 20×16 in. oil on canvas by Ronald Lee Oliver

An ode to the surveillance State.
by
Ronald Lee Oliver
Nodes, nodes, cookies and nodes!
Filtered and foldered in pigeonholed rows.
Your data is clustered and therefore it shows,
your mindset is furtive and not one of those
We can safely pass over
without thrusting our nose
in the nooks and the crannies up under your hose!
Bend over and spread ’em–we’ll take a quick look
to ensure you’re compliant and go by our book.
Relax! Don’t tense up!
It’s for your own good.
We just want to make sure we’re all safe…
Understood?

It was a beautiful, early Fall morning for plein air painting in San Diego at the coast. The area known as Sunset Cliffs Natural Park has many places for recreation, among which is plein air painting. There is no limit to the choice of subjects found there. If you come to San Diego to paint, I definitely recommend this as a good place.
Here’s a pic of my painting kit on site. That’s a 16×20 on the easel. I like that size for plein air because it allows lots of freedom for brush movement, though it is a large space to fill in one session.

…and here’s a short video I made after I finished…you can see the light has changed as compared to my composition on the canvas.
…and of course, here’s the finished piece…


In the quiet, early morning at the river bed beside the still waters that remain after a long California drought, I park my easel in the sand bar at water’s edge. An egret with feathers as blindingly white as a snow drift in alpine sunlight, wades and forages with patience and resolve, searching for morning victuals. Suddenly it stops and peers down a long and lethal beak at some creature that stirs, just below the surface. For perhaps a minute, the bird is motionless, stoic and rapt in solitude as the ripples slowly recede and the surface of the water returns to glassy calm. The egret, unperturbed, with flapping wings, jumps and flies. I hear the air rushing through the feathers as it beats past and glides down the riverbed, beyond the dam, disappearing into the lush shade of the forest canopy.

My goal as an artist is to strive toward continual growth in my craft and the ability to express my appreciation for the beautiful places I’ve been so privileged to experience and enjoy. This artistic journey will end at my last breath, yet beyond this I hope my paintings will share some essence of the joy in spirit and gratitude I’ve been blessed with by our creator for this brief lifetime.
Read on, in the chronology of this journey below, or have a look at my online portfolio by using the menu at the top of each page.


One of the challenges of plein air painting is working within a limited budget of time. The interplay of a moving sun and fleeting clouds make swift work integral to capturing the scene. A changing scene may force the painter to work from memory, which is not as accurate as direct observation. And after all, really, who has the stamina (or is it the lunacy?) to paint for hours out in the elements? Thank goodness, most of my plein air painting sessions finish in under two hours, before I can become dehydrated and sunburnt. I completed this 11×14 inch plein air painting of San Elijo Lagoon in about an hour and a half. Having a pre-toned (a neutral gray) substrate helped the work to go quickly because there was no “white space” to cover and the toned background filled in the gaps in the superseding paint layers.
My goal in painting in plein air is not to make a photo-realistic depiction of the scene but rather to suggest something truthful, with expression but that also looks good when framed and hung on a wall. Plein air painting provides the added benefit of being stretched by new challenges but also keeping the “chops” tuned for studio work.
The San Elijo lagoon and nature center is one of the great places in San Diego to visit at twilight. Either early in the morning or in the evening before sunset, hiking the well maintained trails and boardwalk there is a peaceful and fascinating experience. You will see the play of the wind on the surface of the tidal waters and the fronds of the grasses in the marsh. Reflections of light, dance, shimmer and change with each breath of wind. The silence is ocassionally broken by the cry of foraging birds or the sudden splash of fish jumping out of the water.
San Elijo Evening 11×14 oil on panel

by San Diego Plein Air Painter, Ronald Lee Oliver

San Diego has a past that is inextricably linked with the Spanish colonization and works of the Catholic Missionaries that established the first outposts of Western Civilization on the American continent. In Santee, California, about five miles from Lakeside, CA where I live, is the site of the first water collection system created by the Spanish Missionaries. Known as “Padre Dam,” it is now a ruin that is part of the Mission Trails Regional Park system. This dam provided water for agriculture which supported the established Mission de Alcala, about three miles to the West, where the missionaries and the indigenous people interfaced.
The dam, with its water and pools makes a picturesque subject and provides some green relief in this long period of drought we’ve had in Southern California. Even in the hottest part of this dry year, there is still a trickle of water that flows here in the San Diego River–a river that originates in the Laguna Mountains that rise to just over 6000 feet, some 25 miles to the East.
This plein air painting was finished early in the morning while the air was still cool and the shadows were long. The temperatures rose above 100 degrees fahrenheit later in the day and it was good to finish this 11 x 14 inch panel before it became truly miserable.
I painted quickly to capture the colors and light of the moment, as well as a sense of place.
I’m quite happy with the result.

Keys Creek Lavender Farms is a great place to plein air paint in North San Diego County. It is a difficult subject however because the landscape there is hilly and chaotic with lots of visual clutter, such as outbuildings and sheds. My first attempts at this painting were “wipeouts,” where I actually destroyed what I had painted in the background by wiping it off with a paper towel dipped in solvent. Eventually I decided to invent my own background (because I can do that, you know?) and paint something to suit the beautiful lavender which sloped down the hill in front of me in real life.
I chose the sea. Hope you like it.
RLO

The above painting, “After the Rains,” was completed and signed in the field on Saturday, the 9th of May 2015. I painted this as my part of a plein air painting demo, where I was involved as part of a team of plein air painters from the San Diego Plein Air Painters Meetup Group. We were helping to commemorate the San Diego River Days Festival, which takes place each year, raising money and awareness about conserving the River and its wetlands .
This painting demonstrates a few principles of an effective plein air painting:
…the latter being that elusive quality that teases the viewers mind by allowing them to “fill in the blanks” and resolve the story of the image with their own narrative. There’s nothing more satisfying for the mind than solving a puzzle, so I’m a big proponent of “allowing the paint to be paint” and the brush strokes to suggest form rather than dictate it. This allows the mind to engage and play with the imagery and have a satisfying experience that provides new discoveries with each viewing.
Here’s a few pics of me at the easel, talking “plein air” during my demo.


The painting, finished and signed in the field
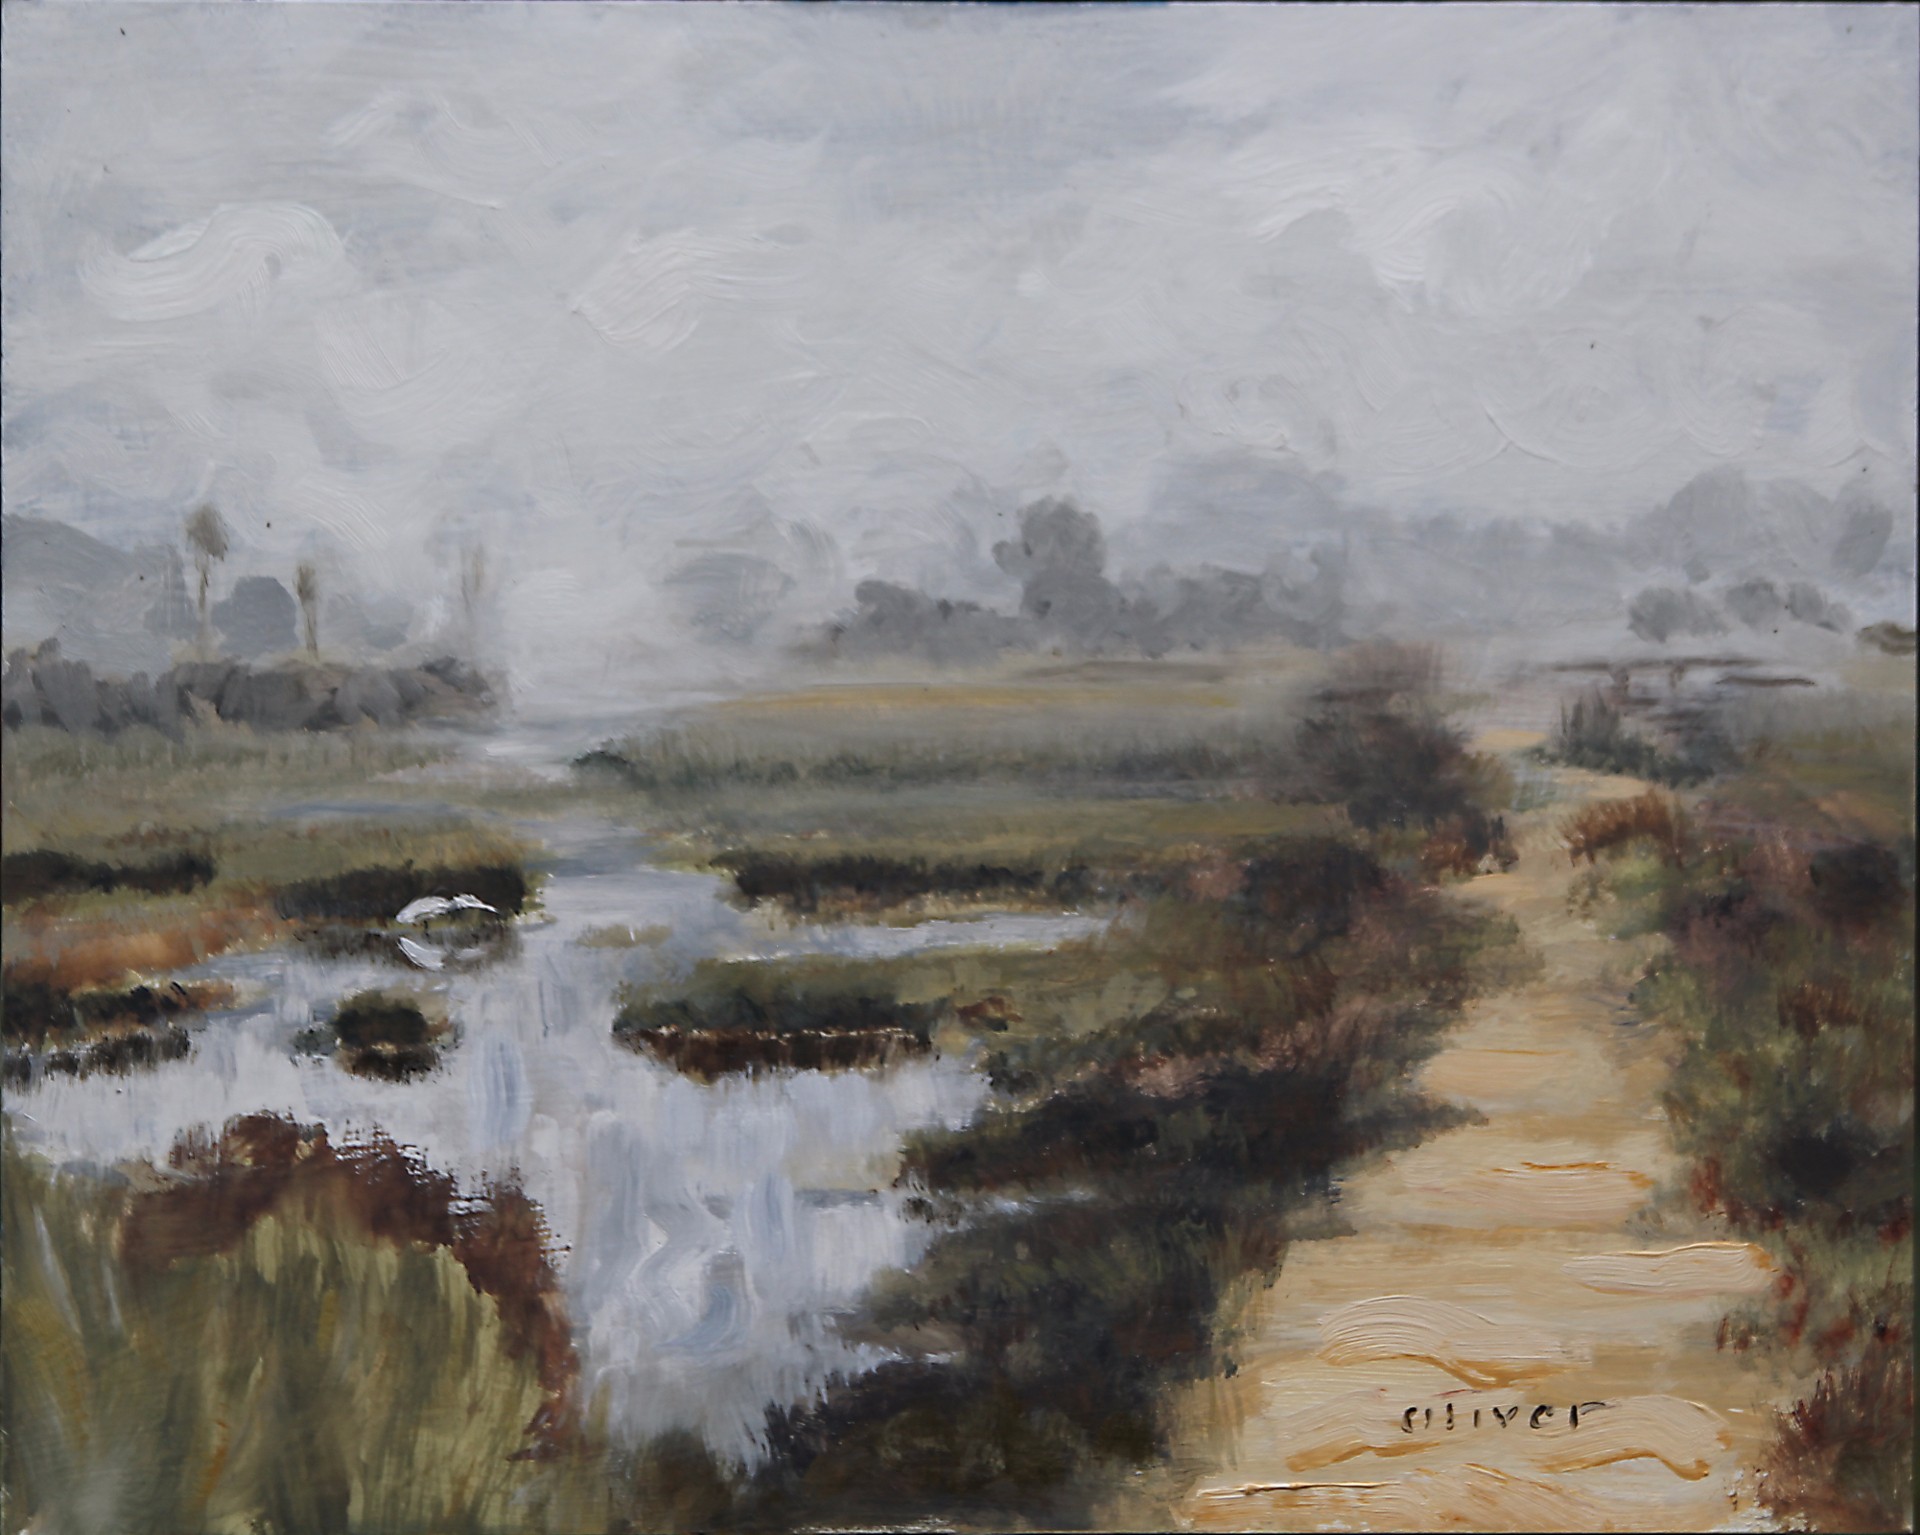
Gray, gloomy days are a real challenge for the plein air painter. Capturing the light is what plein air painting is all about and when that light is not cheerful, colorful or dramatic, it can be difficult to find inspiration. This plein air painting was painted at the mouth of the San Diego River, early on an overcast, gray May morning. Luckily, there were some dramatic moments where transient shafts of light momentarily peeked through the thick, cloud layer, illuminating the vegetation and meandering course of the river. These hints of color and bright reflections provided the impetus to capture that tonal difference and bring this image to life. I knew this day would be gray, so I decided in advance to “embrace the gray” and make the best of a challenging situation. It helped that I had previously toned my panel with a neutral gray that would support the composition. That’s the nature of plein air–one has to adapt and make the best of the view and the weather in a given place. Here’s the result of my effort that morning…

I’ve done a few paintings in the last weeks that I’ve yet to post on this blog, so here they are. These were painted on site around San Diego County, mostly with the San Diego Plein Air Painters group , of which I’m a member. I’m also a member of the Laguna Plein Air Painters Association — LAPAPA, as well as the Southern California Plein Air Painters Association –SOCALPAPA and the San Diego Museum of Art Artist’s Guild — SDMAAG.


February 14th, 2015 in Southern California. The air temps got up to over 90 degrees in the inland areas. I headed West, early this morning to paint at the area in Point Loma known as “Sunset Cliffs.” It was already warm and not the least bit cold as I painted at the top of a cliff, near waters edge above the surf below…here’s a short video of the beautiful conditions and the painting I made. 11 x 14 inch oil on panel.
…and here’s an example of how it would look in a nice “New Rustic” solid wood frame by Randy Higbee galleries…